Best Lenses for Portrait and Event Photography
A practical lens guide for portraits, weddings, events, and client work, with focal length ranges, aperture tradeoffs, crop-sensor notes, and beginner buying tips.
Photography Tips
7 min read

Published June 18, 2026 | 6 min read
The best lighting tips for outdoor photography are simple: watch the direction of light, place faces in clean light, use open shade when sun is harsh, backlight carefully, add a reflector only when it helps, and adapt to the weather instead of forcing one setup. Golden hour can be beautiful, but it is not always possible or automatically best for every portrait, wedding, event, street, or portfolio shoot.
 Good outdoor lighting starts with direction, timing, and where the subject stands in relation to the sun.
Condition | Best approach | Watch for |
|---|---|---|
Golden hour | Use low warm light from the side or behind the subject | Too much flare, uneven faces, or rushed timing |
Blue hour | Use soft ambient light for calm portraits, city scenes, and atmosphere | Slow shutter speeds and color shifts from artificial light |
Open shade | Place the subject just inside shade facing bright open sky | Green color casts from grass or dark eye sockets |
Harsh midday sun | Move to shade, turn the subject away from direct sun, or soften with a reflector | Squinting, shiny skin, hard shadows, and blown highlights |
Backlight | Expose for the face, control flare, and use a reflector if shadows get too deep | Washed-out contrast or a subject that becomes a silhouette |
Cloudy weather | Use the soft sky as a large diffuser and add shape with backgrounds or direction | Flat light, dull eyes, or muddy color if the background is weak |
Golden hour gives warm, low-angle light near sunrise or sunset. Blue hour gives softer, cooler light just before sunrise or after sunset. Open shade gives clean, even light during brighter parts of the day. None of these are magic by themselves; the subject still needs a clean background, flattering face direction, and enough light in the eyes.
 Open shade is one of the easiest ways to get clean outdoor portraits when direct sun is too strong.
Harsh sunlight is not automatically bad, but it is unforgiving. The safest beginner move is to change the subject position rather than chase a dramatic setup. Look for shade, building edges, covered walkways, light-colored walls, or angles that keep direct sun out of the eyes.
 In harsh sun, small position changes often do more than complicated settings.
Backlighting places the sun behind the subject, often creating glow around hair, clothing, or edges. It can be flattering when handled gently, but it can also reduce contrast or turn the subject into a silhouette. Use a lens hood, adjust your angle, and add a reflector only when the face needs a small lift.
 Backlight works best when the glow supports the subject instead of overpowering the face.
Cloudy weather can be excellent for photography because the sky acts like a large softbox. The risk is that every direction can look equally flat. Add shape by choosing backgrounds with depth, turning the subject toward brighter sky, and using reflective surfaces or darker backgrounds to create separation.
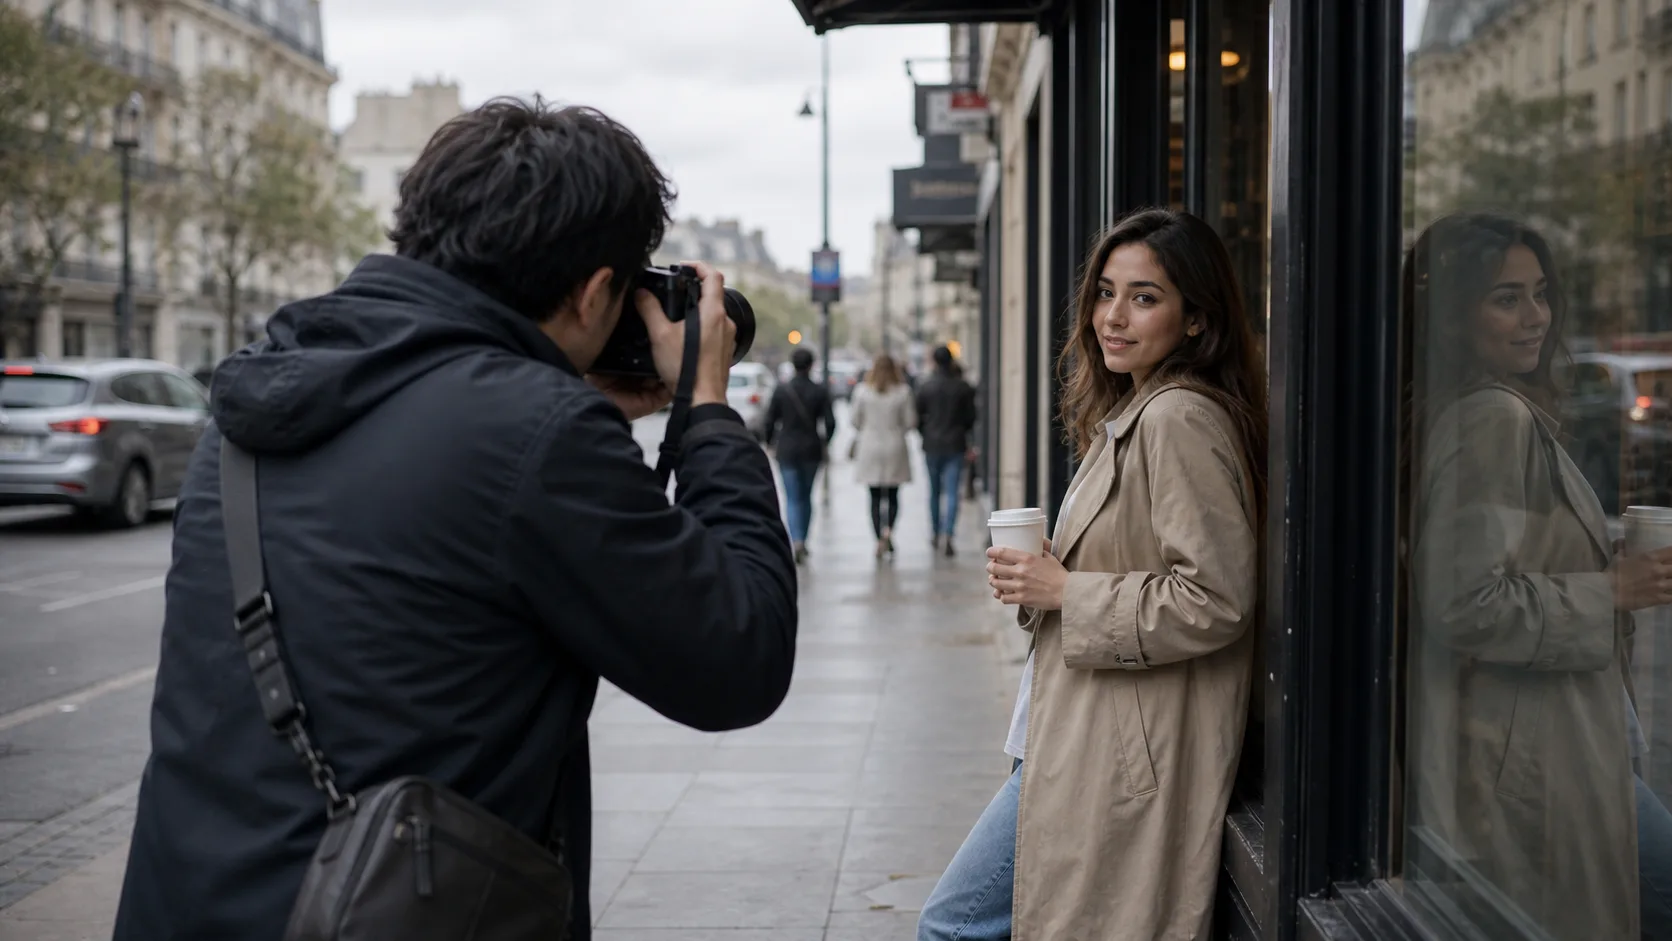 Cloudy light is forgiving, but direction and background still decide whether the photo feels alive.
Mistake | Why it hurts the photo | Simple fix |
|---|---|---|
Shooting in patchy shade | Bright spots and dark spots make skin hard to edit | Move to full shade or full sun instead of broken light |
Putting the sun directly in the subject's eyes | Squinting and tension make portraits look uncomfortable | Turn the body or move to shade so the face relaxes |
Using golden hour as the only plan | Timelines, weather, and locations may not cooperate | Prepare an open-shade or cloudy-day backup |
Ignoring background brightness | A bright background can pull attention away from the subject | Choose a darker or cleaner background when the face is subtle |
Overusing reflectors | Too much bounce can look unnatural or bother the subject | Use just enough fill to open shadows without flattening the face |
Trusting one setting for every scene | Outdoor light changes quickly across direction and weather | Treat camera settings as examples and adjust to the actual light |
For related technique guides, read portrait photography tips for better client photos, street photography tips for natural-looking photos, and wedding photography shot list for beginners. You can also browse the Gampi blog for more photography workflow recommendations.
After shooting and editing, use Gampi to organize polished galleries and present finished photos clearly to clients.
Soft directional light is usually the easiest to work with. Golden hour, open shade, and bright overcast skies are often helpful, but the best light depends on the subject, location, weather, and mood.
Move the subject to open shade, turn them away from direct sun, expose carefully for skin, use a reflector gently if needed, and avoid making the subject squint or stand in unsafe places.
Yes. Cloudy weather creates soft even light, which is useful for portraits, events, and street photography. Add direction with backgrounds, doorways, reflections, or brighter open sky so the image does not look flat.
Photographers often place the subject just inside open shade while facing bright sky. This keeps direct sun off the face but still gives enough soft light and catchlights in the eyes.
Golden hour photography uses the low warm light shortly after sunrise or before sunset. It can create flattering direction, long shadows, and warm color, but it still needs good positioning and a backup plan.
A practical lens guide for portraits, weddings, events, and client work, with focal length ranges, aperture tradeoffs, crop-sensor notes, and beginner buying tips.
Learn practical golden hour photography tips for planning, exposure, portraits, backlight, side light, silhouettes, lens flare, composition, and final image selection.
A practical beginner guide to sharper low-light photos: understand blur versus noise, choose settings, stabilize the camera, use available light, and edit dark files carefully.