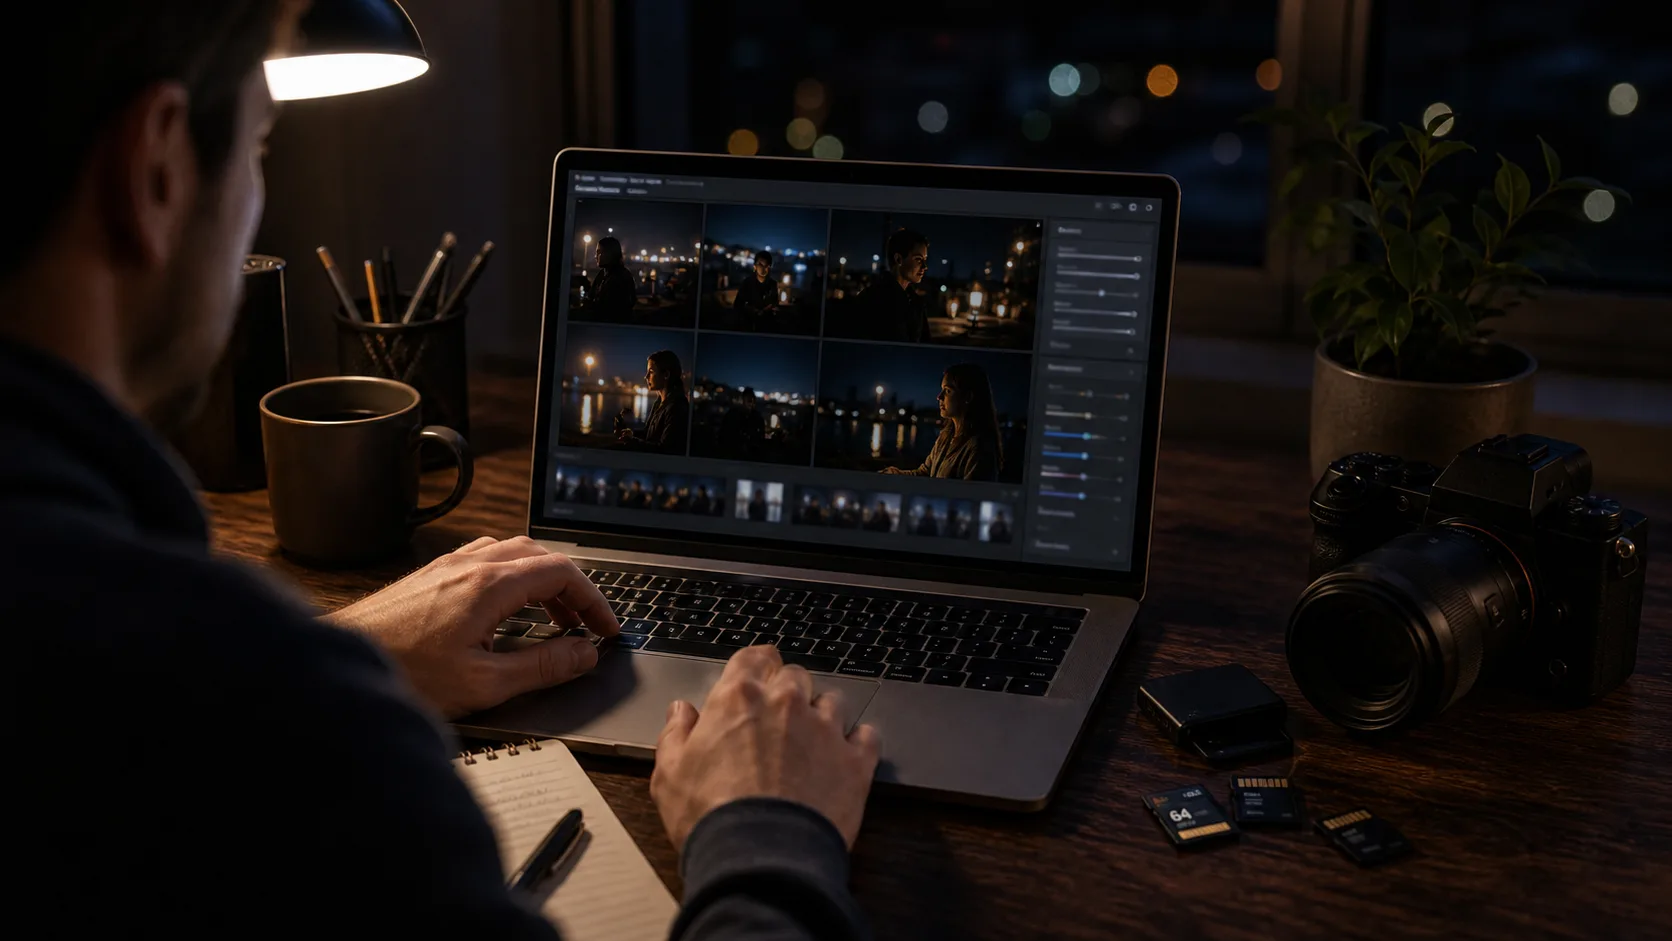
A practical beginner guide to sharper low-light photos: understand blur versus noise, choose settings, stabilize the camera, use available light, and edit dark files carefully.
To take better low-light photos, protect sharpness before chasing a perfectly clean file: use enough shutter speed for the subject, open the aperture when depth of field allows, raise ISO when the scene is too dim, stabilize the camera, focus on a clear contrast edge, and move toward the best available light. Some noise is usually easier to fix than motion blur.
Low-light work gets easier when you choose which compromise matters most: blur, noise, depth of field, or added light.
Key low-light principles
Freeze the subject before chasing perfectly clean files.
Use the widest useful aperture, but remember that wide apertures give less depth of field.
Raise ISO when the alternative is motion blur or missed moments.
Stabilize the camera for still subjects, but remember stabilization does not stop subject movement.
Look for usable light from windows, lamps, signs, streetlights, or safe bounce surfaces.
Add light only when it is allowed, respectful, and right for the scene.
Why low-light photos get blurry or noisy
Dark scenes force the camera to gather more light. A slower shutter can gather light but causes blur when the camera or subject moves. A wider aperture gathers light but can make focus thinner. Higher ISO brightens the file but can add noise. None of these choices is automatically bad; the right choice depends on the subject, movement, and final use.
Low-light settings are examples, not universal rules. Change them after checking sharpness, exposure, and color.
Low-light camera settings by situation
Situation
Starting settings
Adjust when
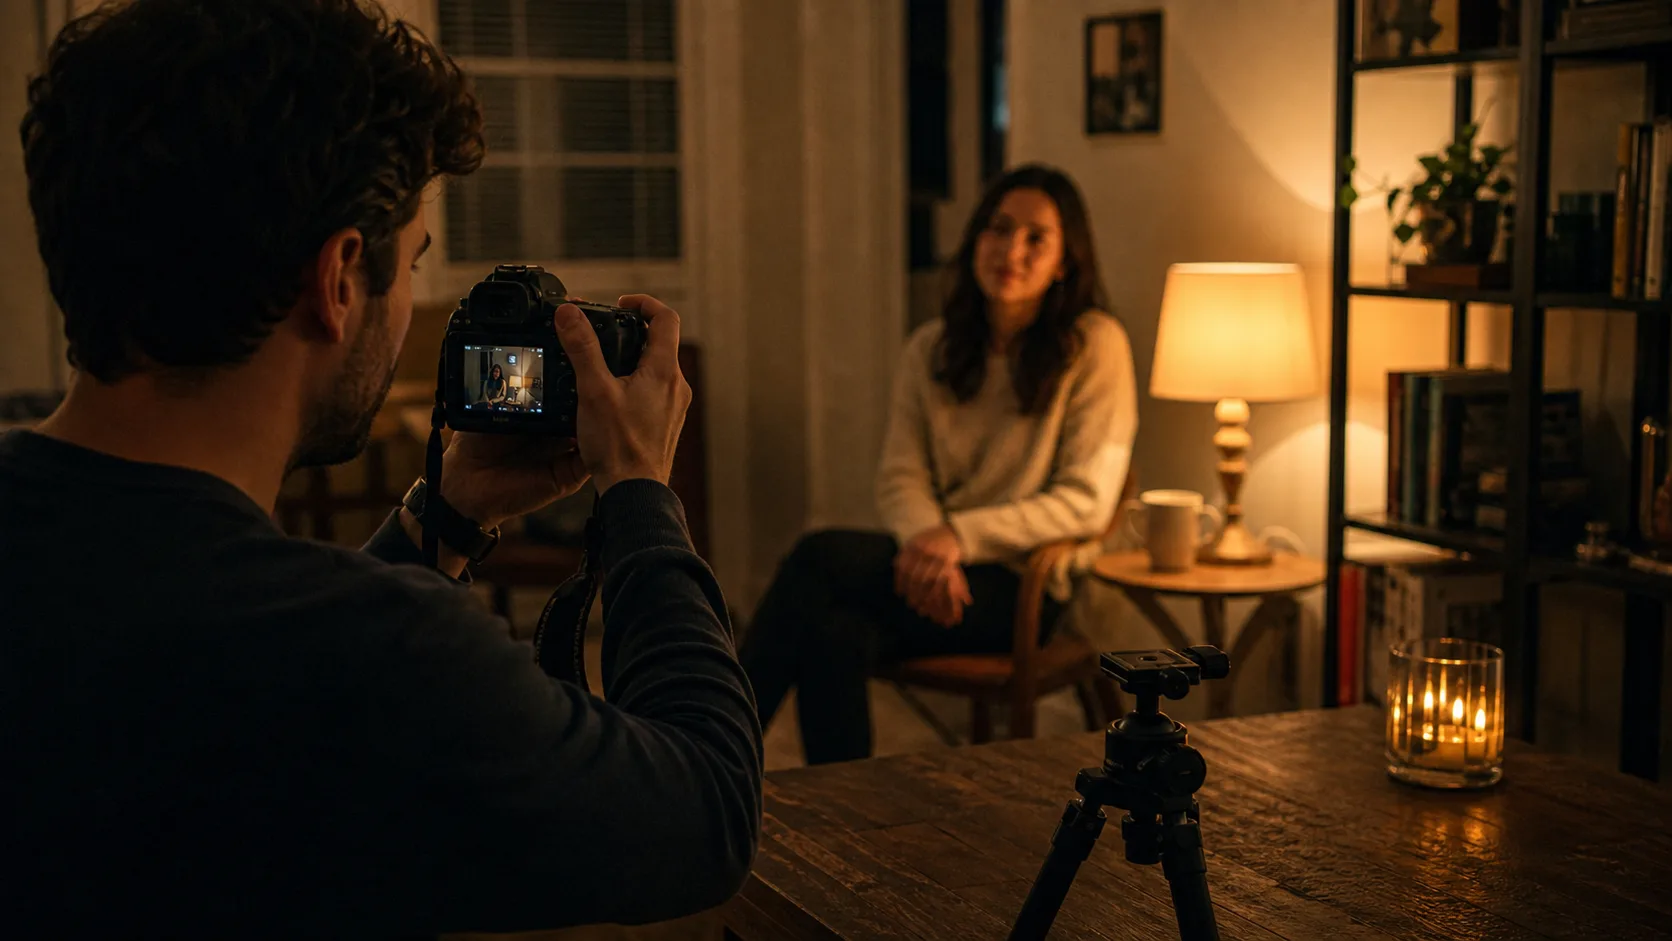
Indoor portrait near window or lamp
f/1.8 to f/4, 1/125s to 1/250s, ISO 800 to 3200
Use faster shutter speed for movement or stop down when focus is too thin
Indoor event or reception
f/2 to f/4, 1/160s to 1/320s, ISO 1600 to 6400
Protect motion first and use flash only if allowed and not disruptive
Night street scene
f/1.8 to f/4, 1/125s to 1/250s for people, higher ISO as needed
Brace carefully and time shots when subjects pause
Still room detail
f/4 to f/8, tripod or stable support, low ISO when possible
Use slower shutter only when nothing in the frame is moving
Small group indoors
f/4 to f/8, 1/160s or faster, ISO as needed
Stop down for depth and add permitted light if ISO becomes too high
Autofocus can struggle in darkness, so use a clear contrast edge near the subject, focus on the eye for portraits, and review a test frame. White balance also matters because lamps, screens, and window light can mix into strange color.
Stabilization, lenses, and available light
Hold the camera close, tuck elbows in, and breathe out gently before pressing the shutter.
Lean against a wall, table, doorway, or stable surface for still subjects.
Use a fast lens when it helps, but do not buy gear before learning light and technique.
Lens or camera stabilization helps with camera shake, not moving people.
Move the subject closer to existing light instead of trying to brighten the whole room.
Use flash carefully only when it is allowed, expected, and not disruptive.
Available light works best when you move the subject toward it and keep the camera steady.
Low-light tips for portraits, events, street, and indoor spaces
Scene
What to do
What to avoid
Portraits
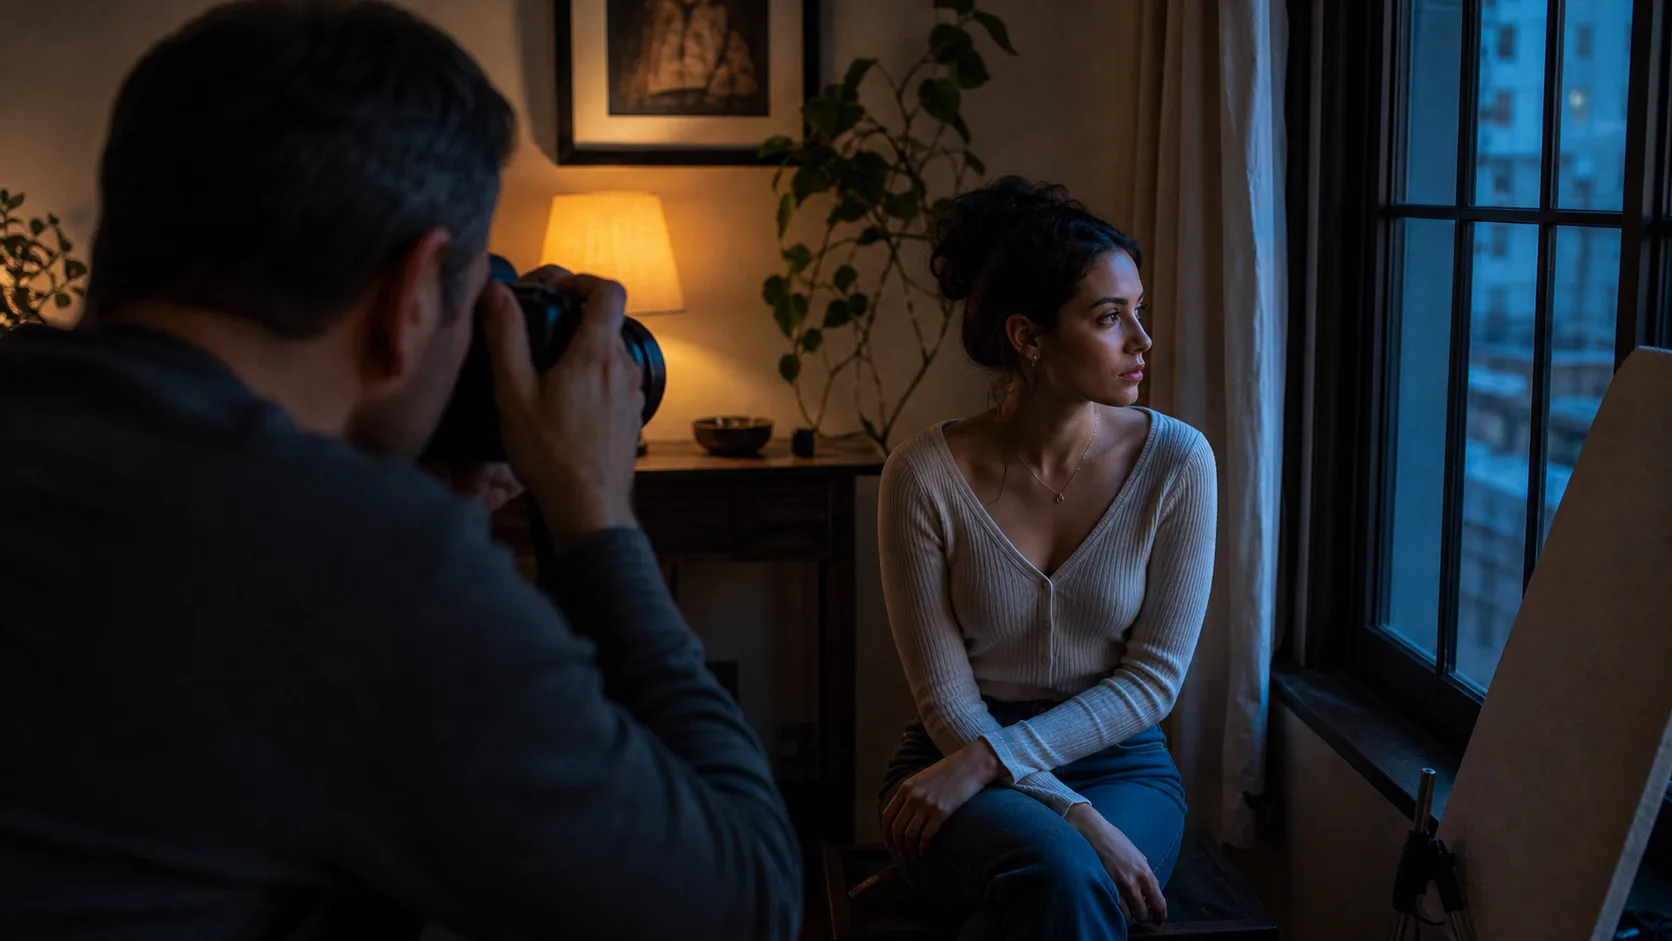
Place the face near soft window, lamp, or sign light and focus carefully
Avoid such a wide aperture that both eyes or group members fall out of focus
Events
Protect shutter speed, anticipate moments, and respect venue rules about flash
Do not fire flash where it is prohibited or disruptive
Night street
Use bright pockets of light, reflections, and moments when people pause
Do not stand in unsafe roads or block walkways for a shot
Indoor rooms
Turn off conflicting lights when possible and use the cleanest dominant direction
Do not trust the camera preview without checking color and blur
Details
Stabilize the camera and use lower ISO when the subject is still
Do not use slow shutter speed for moving subjects
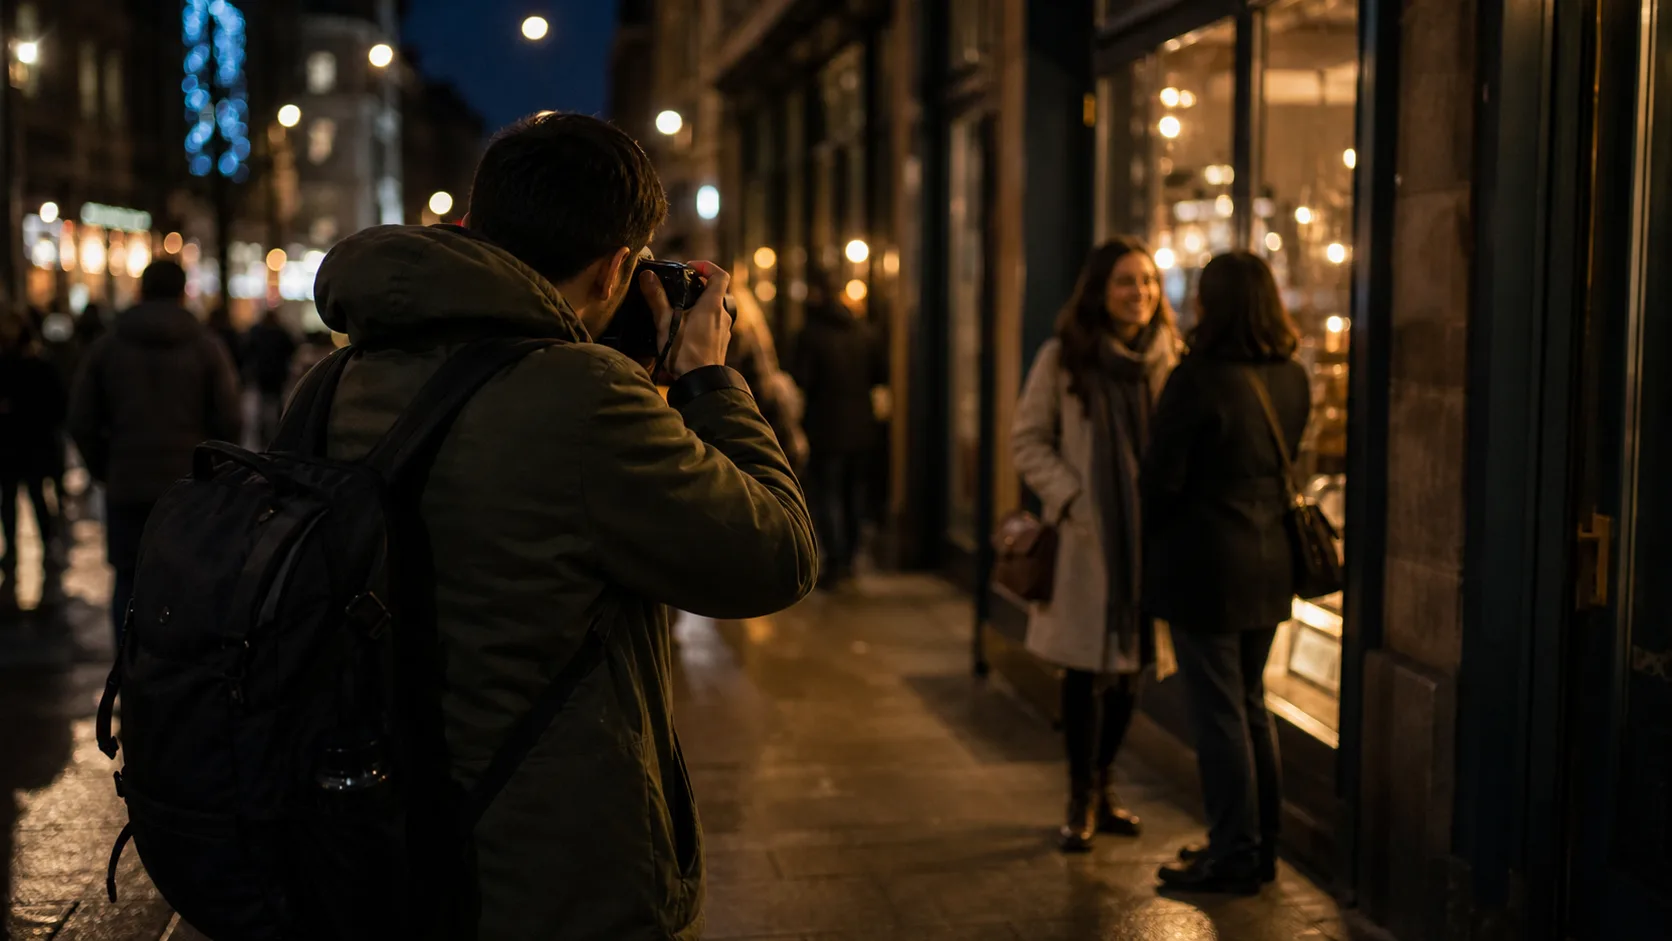
Night scenes improve when you choose bright pockets of existing light and keep the shooting position safe.
Common low-light mistakes and fixes
Mistake
Why it happens
Fix
Refusing to raise ISO
Fear of noise leads to slow shutter blur
Raise ISO enough to keep the subject sharp
Using aperture too wide for the scene
More light comes in, but focus becomes very thin
Stop down when depth matters and compensate with ISO or light
Relying on stabilization for people
Stabilization reduces camera shake only
Use faster shutter speed for moving subjects
Ignoring color casts
Mixed light changes skin and shadows
Set white balance, simplify light sources, and correct carefully later
Adding flash without caution
Flash can disrupt events or be prohibited
Ask, check rules, bounce or diffuse when appropriate, and use available light when needed
Edit low-light files carefully
Low-light editing is about balance. Reduce noise gently, keep skin texture believable, protect shadows from becoming muddy, and avoid over-brightening dark files until they look flat. Edit one reference image first, then keep the set consistent.
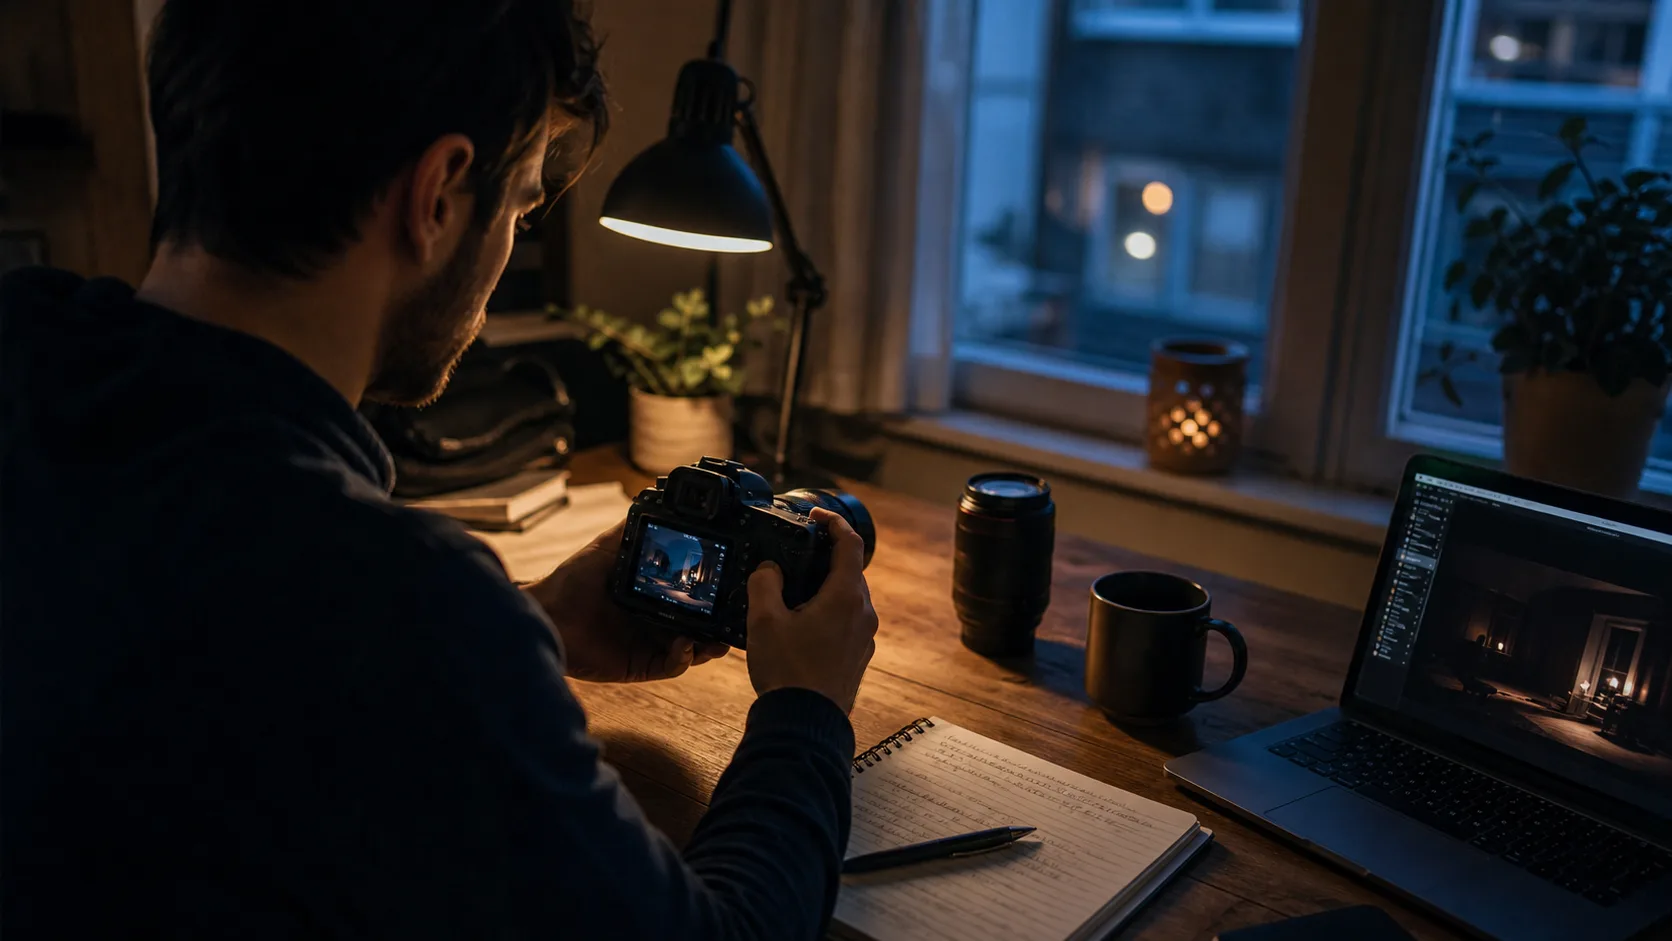
Low-light files often need careful noise, color, and shadow work rather than heavy global brightening.
Use Gampi after editing to keep low-light selects tidy, easy to browse, and ready to share when the final set is complete.
Frequently asked questions
How do beginners take photos in low light?
Use the best available light, keep shutter speed fast enough for the subject, open the aperture when depth allows, raise ISO when needed, stabilize the camera, and check focus often.
What settings are best for low light photography?
There is no single best setting. As examples, try f/1.8 to f/4, 1/125s to 1/250s for people, and ISO 800 to 6400 depending on light, motion, and camera limits.
Why are my low light photos blurry?
They are usually blurry because shutter speed is too slow, the subject moved, the camera moved, autofocus missed, or depth of field was too shallow.
Should I raise ISO in low light?
Yes, when raising ISO lets you keep a safe shutter speed. Some noise is usually easier to accept or reduce than motion blur.
Do I need a flash for low light photography?
Not always. Available light, faster lenses, ISO, and stabilization often help. Use flash only when allowed, respectful, and appropriate for the scene.