
Best Composition Tips for Beginner Photographers
A practical beginner guide to stronger photo composition with subject placement, rule of thirds, lines, frames, negative space, balance, backgrounds, and genre examples.
Photography Tips
6 min read

Published June 22, 2026 | 3 min read
To use foreground elements in photography, place a closer object so it adds depth, frames the subject, shows scale, or creates atmosphere without covering the important action. Start with the subject first, then move the camera until the foreground guides the eye toward it. If the foreground is brighter, busier, or more interesting than the subject, simplify it or leave it out.
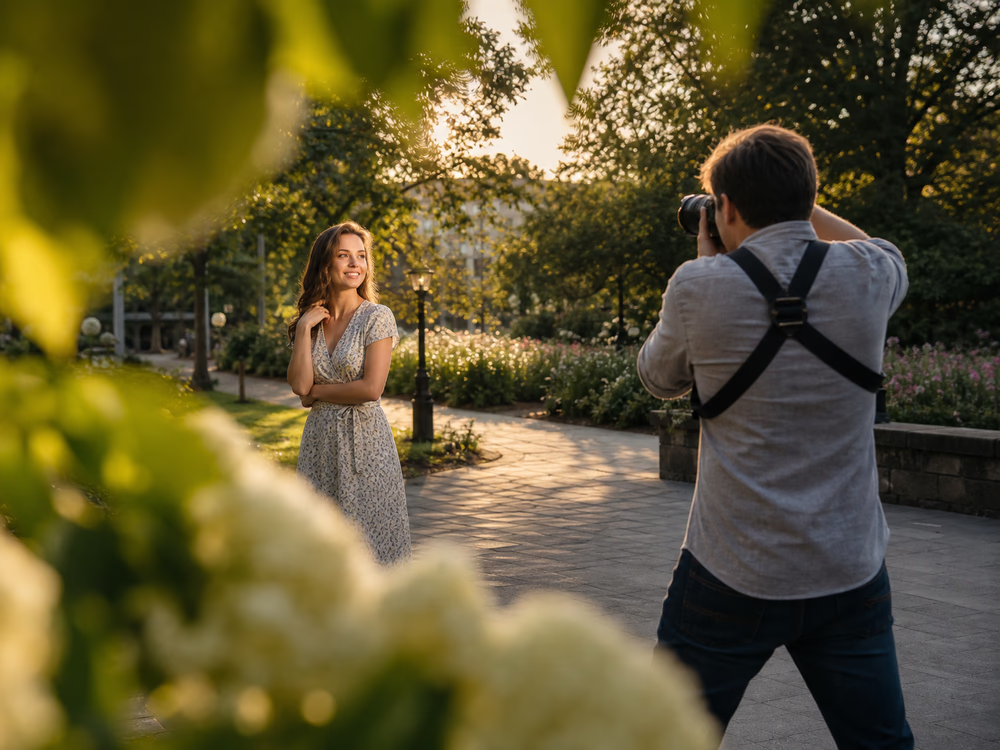 Foreground elements work best when they guide the eye toward the subject without competing with it.
Good foregrounds are often already in the scene: doors, windows, leaves, hands, crowds, architecture, glass, mirrors, puddles, and shadows. Move left, right, higher, or lower before deciding the frame does not work.
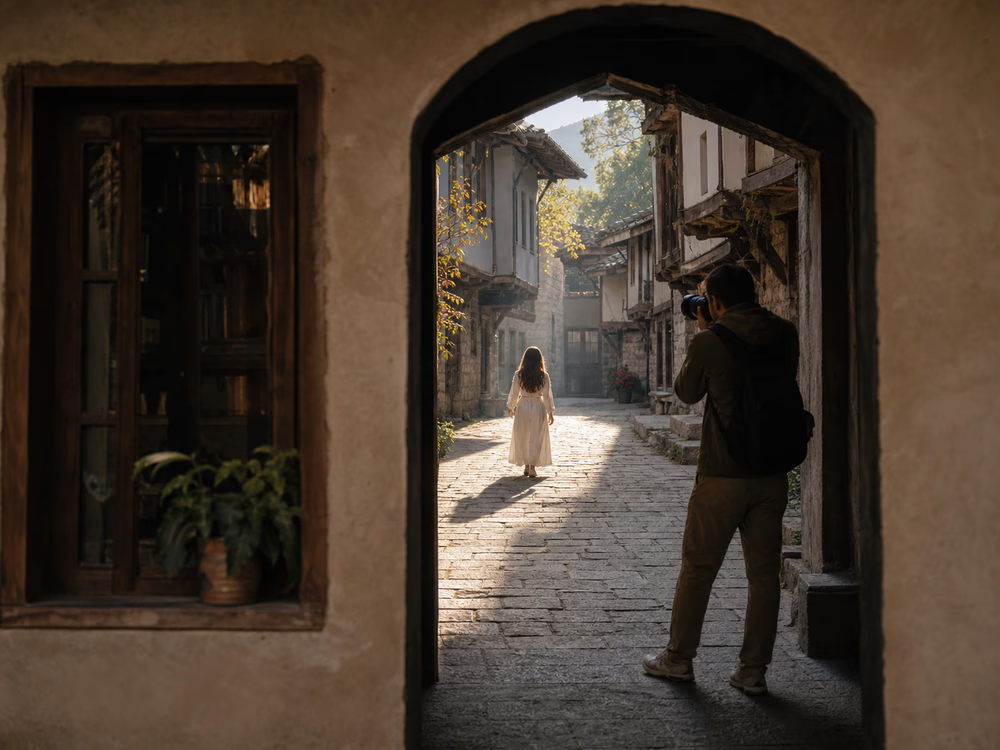 Architectural foregrounds organize the scene and give the viewer a visual entrance.
Foreground blur depends on aperture, focal length, and distance. A wide aperture such as f/1.8 or f/2.8 often softens close objects; f/5.6 or f/8 keeps more context readable when the foreground needs to be recognizable.
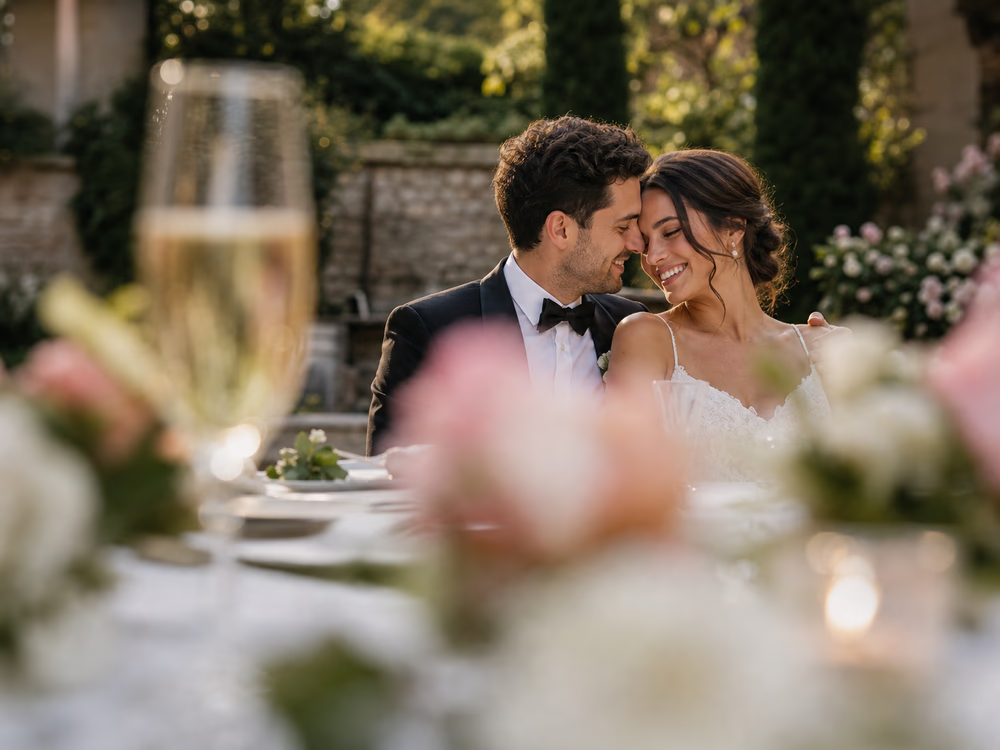 Foreground blur feels intentional when the subject remains clear and the soft shapes add mood.
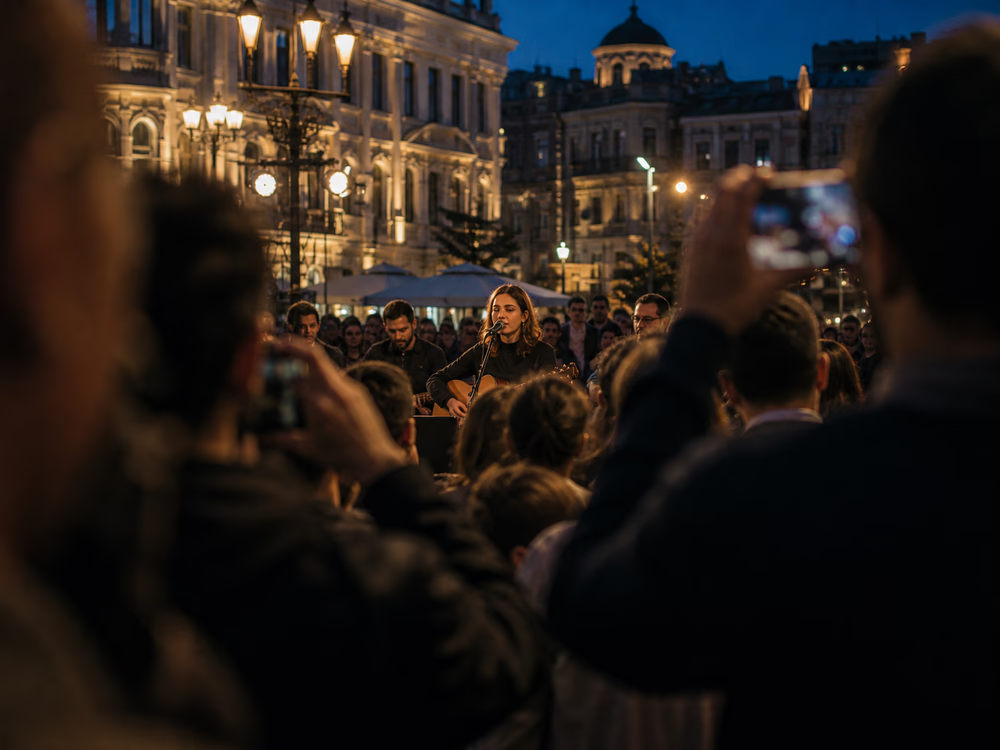 Crowd layers add energy when the main moment remains visible.
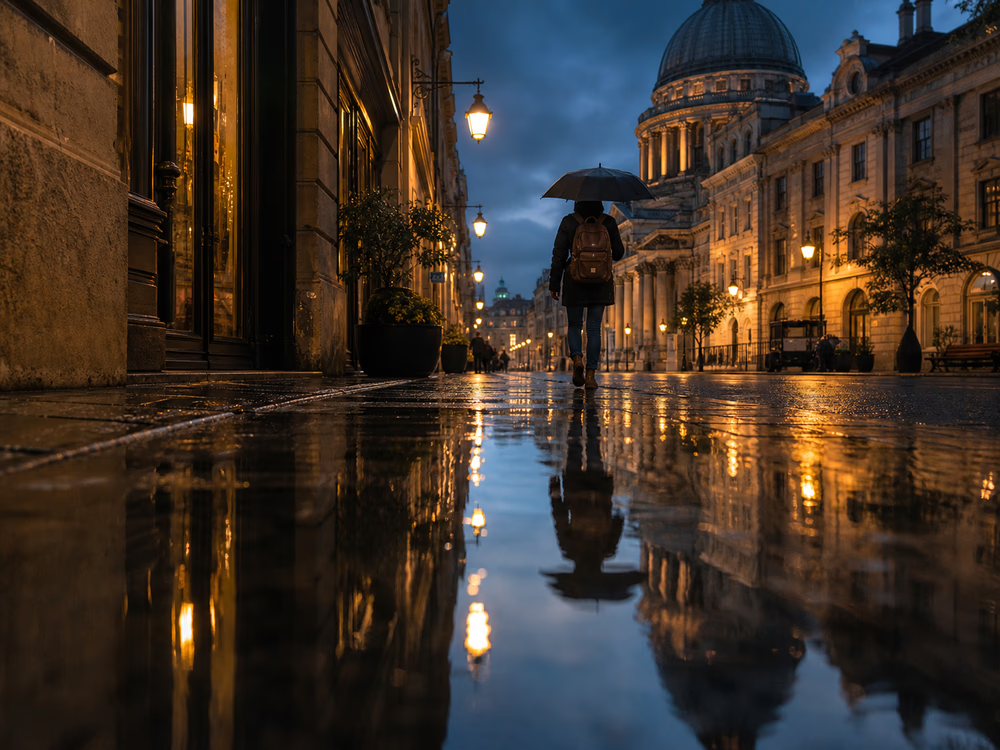 Reflections can act as foreground when they add weather, light, and place.
After the shoot, compare similar frames and keep the image where the foreground has a clear job. For related practice, read composition tips for beginner photographers, framing tips for stronger photos, how to take better candid photos. When the final selects are ready, a simple Gampi gallery can help you present the strongest images without turning the process into a complicated delivery workflow.
Use Gampi when portraits, events, or travel stories are ready to present in a clean gallery.
They are objects or visual layers placed closer to the camera than the main subject.
They create a near layer in front of the subject and background, so the viewer can sense distance inside the frame.
Place an object close to the lens, focus on the subject, and choose an aperture that gives the softness you want.
Leaves, flowers, curtains, windows, doors, fabric, glass, and soft architectural edges can work when they do not cover the face.
Yes. They distract when they are too bright, too busy, too central, or when they cover important details.
A practical beginner guide to stronger photo composition with subject placement, rule of thirds, lines, frames, negative space, balance, backgrounds, and genre examples.
A practical outdoor lighting guide for portraits, weddings, events, street photography, and portfolio shoots, with tips for sun, shade, backlight, reflectors, and cloudy days.
A practical guide to photographing through windows, museum glass, cars, planes, aquariums, and storefronts with fewer reflections, less glare, and cleaner focus.