
How to Take Better Product Photos at Home
A practical at-home product photography guide for creators, freelancers, small shops, and beginners using window light, simple surfaces, steady framing, and consistent editing.
Photography Tips
6 min read

Published June 18, 2026 | 7 min read
A good photo editing workflow for beginner photographers is simple: back up the files, organize the shoot, cull before editing, correct exposure and color, keep the style consistent, export versions for the right use, and review the final set before sharing it. The goal is not to use every tool in your editing app; it is to make clear decisions in the same order every time.
 A repeatable editing workflow helps beginners avoid random fixes and late-stage confusion.
Before you edit, protect the original files. Copy the photos from the card to your computer, then make a second copy on another drive or trusted backup location. Do not format memory cards until the files are safely copied and checked. This is boring advice, which is exactly why it saves photographers from painful losses.
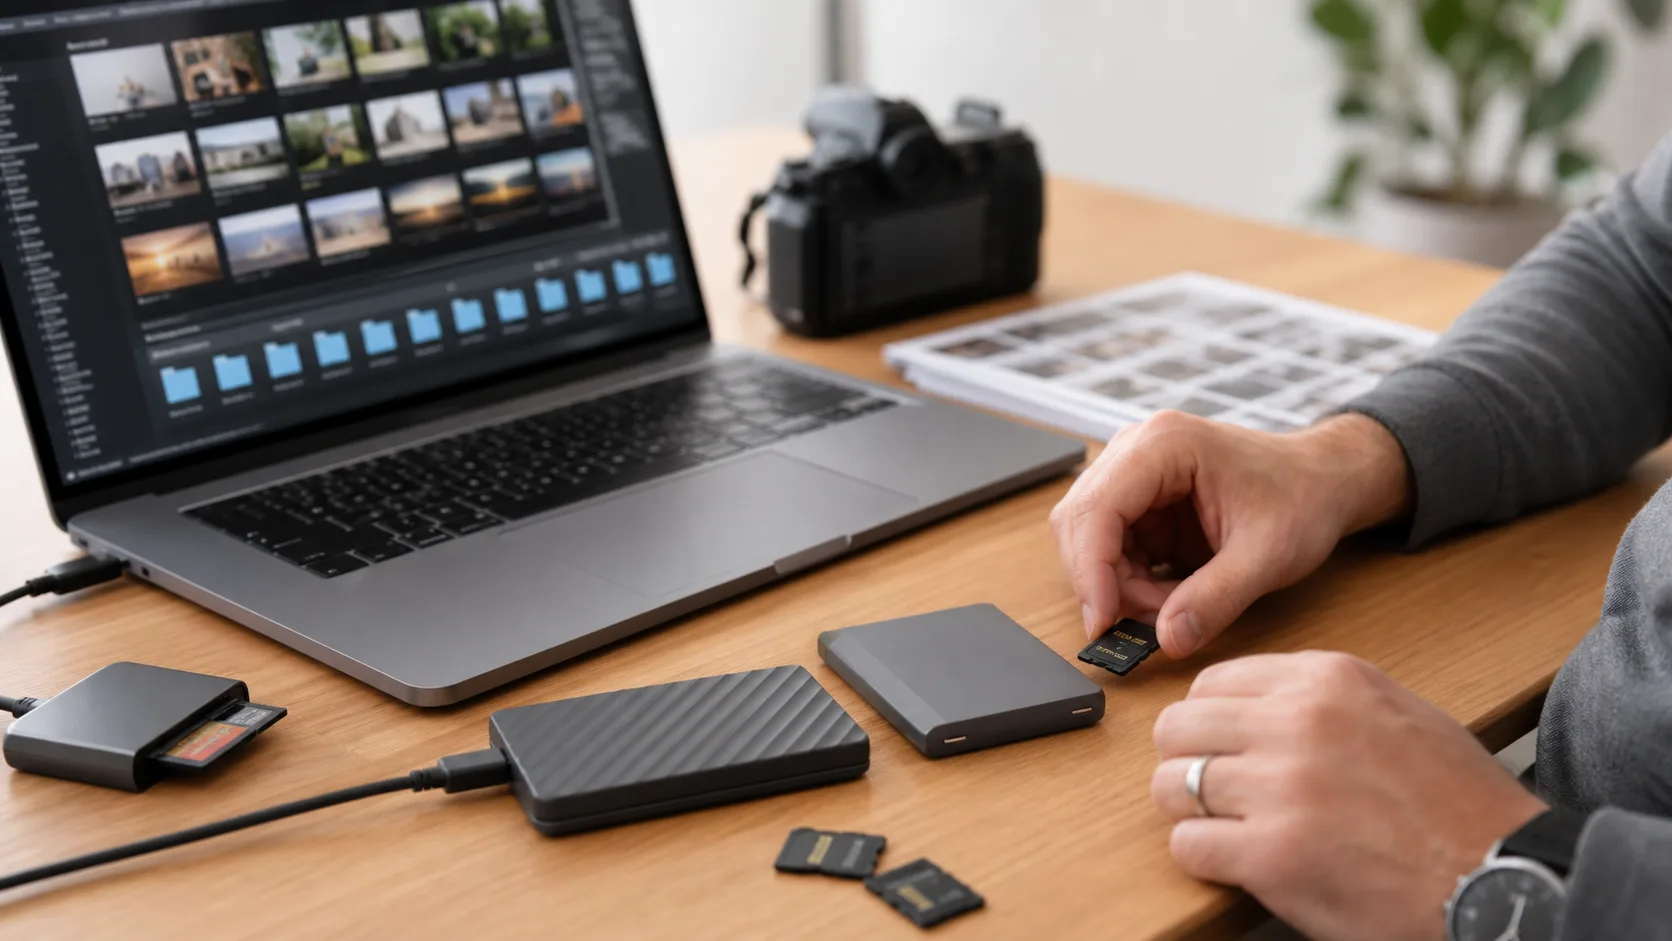 Back up first, then edit. A clean folder structure keeps originals, selects, and exports from getting mixed together.
Culling means narrowing the shoot before editing. Beginners often start fixing every file, then run out of energy on images that should never reach the final set. Work in passes: remove clear misses, compare similar frames, then choose the images that best match the story and client goal.
 Cull before editing so your time goes into the strongest images, not every frame from the card.
Basic editing is about making the photo clear, balanced, and believable. Start with global corrections before small retouching details. If the image looks too bright, too dark, too warm, too green, or crooked, fix those first. Save heavier retouching and special style decisions for later.
Step | What it means | Beginner check |
|---|---|---|
Exposure | Overall brightness of the photo | Can you see important shadow and highlight detail? |
White balance | How warm, cool, green, or magenta the color feels | Do skin, white clothing, and neutral walls look believable? |
Crop and straighten | Frame shape, horizon, and distracting edges | Does the subject have enough space and a clean frame? |
Contrast | Difference between light and dark areas | Does the photo have shape without crushed shadows? |
Highlights and shadows | Bright and dark detail recovery | Are faces, dresses, skies, and black clothing still natural? |
Skin tone | Natural color and brightness on faces | Does skin look human, not orange, gray, green, or plastic? |
Color | Saturation, vibrance, and color relationships | Do colors support the image instead of shouting over it? |
Sharpening and noise | Fine detail and grain control | Does the image stay clean at normal viewing size? |
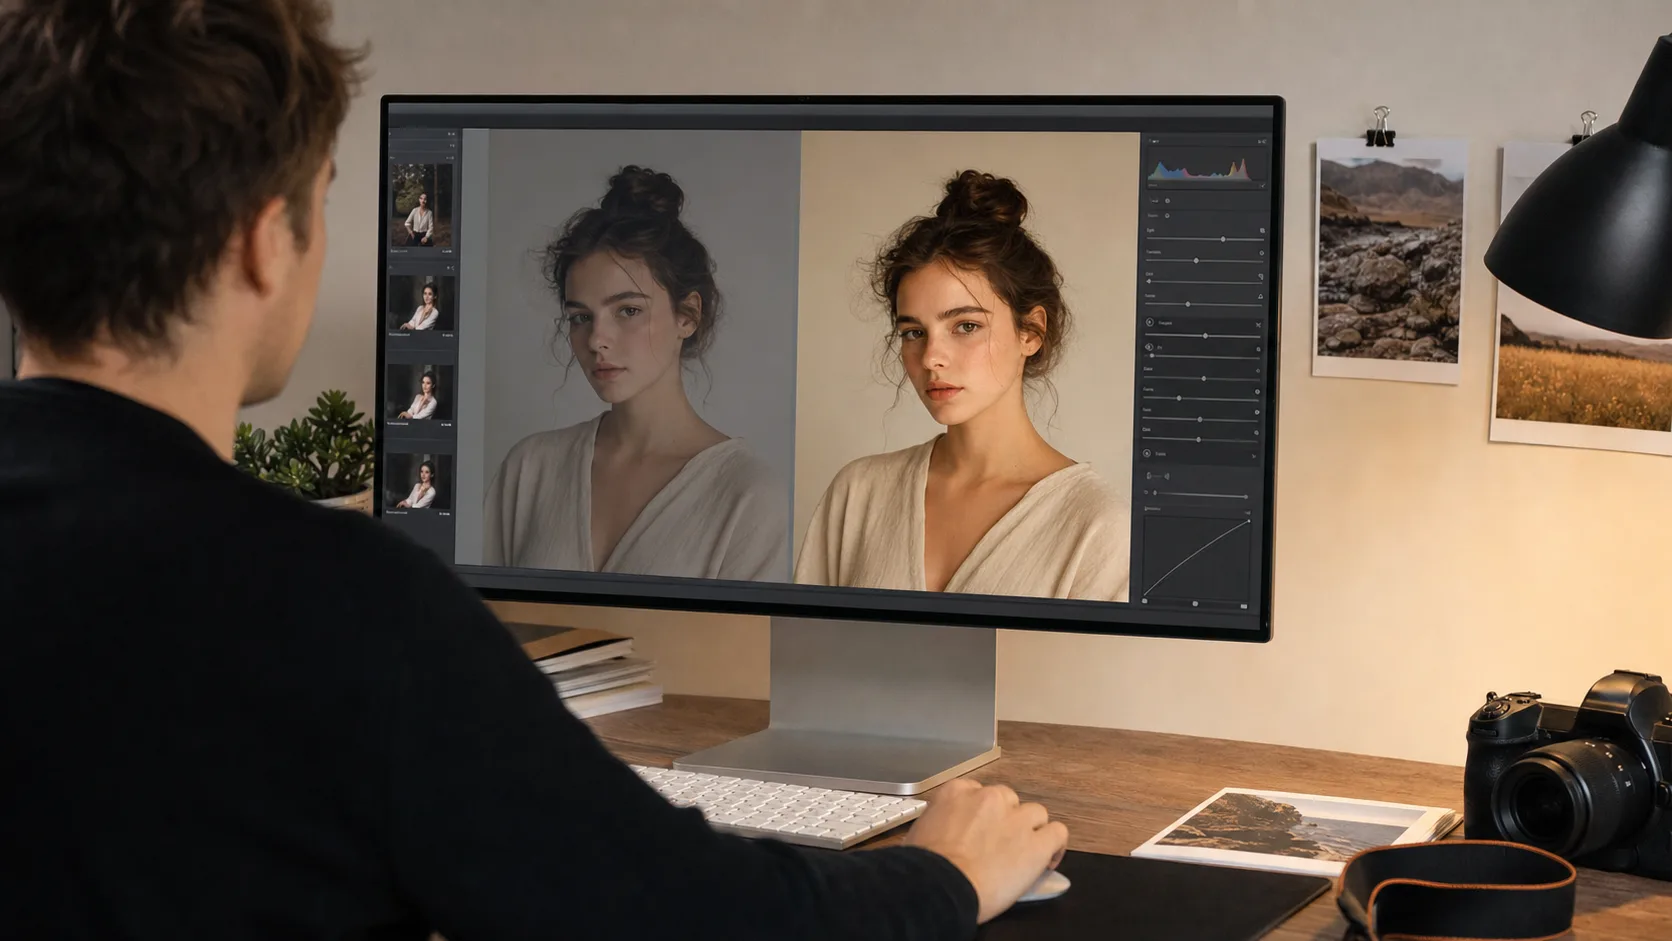 Start with broad corrections: exposure, white balance, crop, contrast, skin tone, and color.
Consistency does not mean every photo must look identical. It means the final gallery feels like one shoot. If one image is warm and soft, the next is cold and crunchy, and the next is heavily saturated, the set can feel unfinished even when each photo is acceptable on its own.
Export settings are examples, not universal rules. The right size, format, color profile, and compression depend on how the files will be used. When in doubt, ask the client or lab what they need, and keep a full-quality export archived before making smaller web copies.
Use case | Example export | What to check |
|---|---|---|
Web or social preview | JPEG, sRGB, resized for the platform, moderate compression | Fast loading, clean color, no accidental full-resolution private files |
Client review | JPEG, sRGB, clear file names, reasonable preview size | Easy viewing and enough quality for decision-making |
Print delivery | Full-resolution JPEG or TIFF if requested, correct color profile for the lab | Dimensions, crop ratio, sharpening, and lab instructions |
Archive | Original files plus final high-quality exports | Stored in more than one safe location |
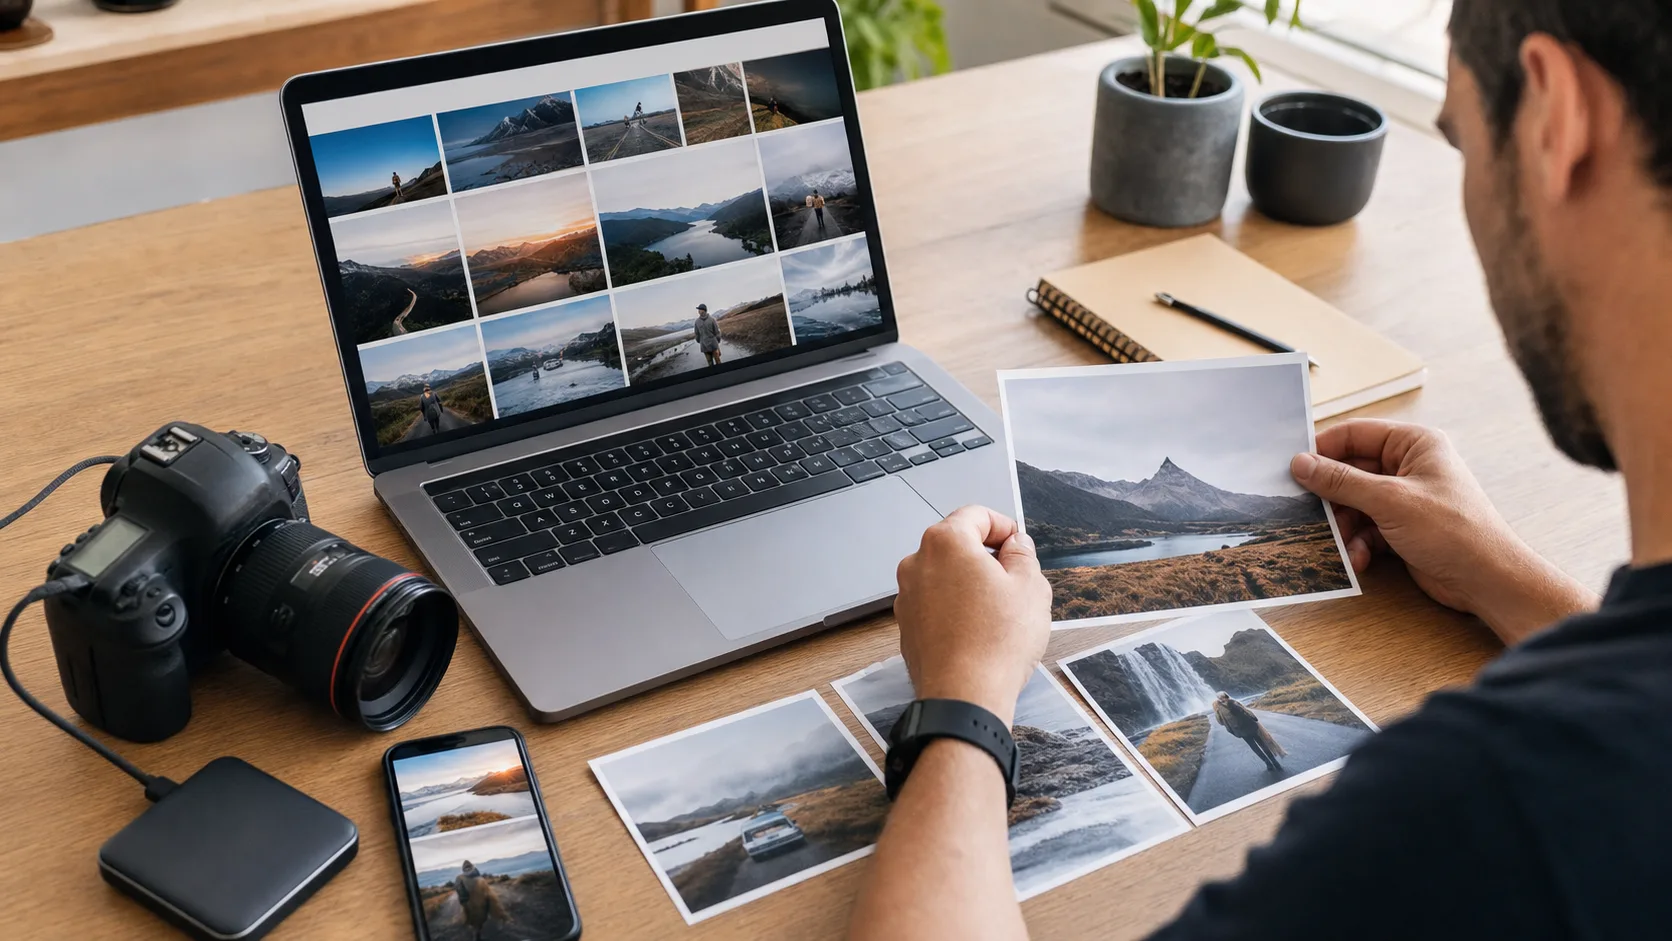 Export for the actual use case, then open the files outside your editing app before sending them.
If you want to improve the steps around editing, start with choosing the best photos from a photoshoot, then review portrait photography tips for better client photos. When the edited files are final, share high-resolution photos with clients through a clean presentation or transfer workflow. Gampi fits after editing, when you need to present the finished gallery or send final files without turning the editing process itself into a delivery task.
Use Gampi after editing to organize finished galleries, share final files, and keep the client handoff simple.
A good beginner workflow is: back up files, organize the shoot, cull first, make basic corrections, keep style consistent, export for the right use, and review the final files before sharing.
Yes. Culling before editing saves time and helps you focus on the strongest images. Keep uncertain files in a maybe group instead of deleting originals too early.
Start with global corrections: exposure, white balance, crop, straightening, contrast, skin tone, and color. Small retouching details are easier after the whole image is balanced.
Edit a reference image, apply a similar baseline to related photos, adjust each lighting situation separately, and review the final set as thumbnails to catch images that do not match.
Use export settings based on the final purpose. Web previews usually need smaller JPEG files in sRGB, while print or production work may need full-resolution files and specific lab requirements.
A practical at-home product photography guide for creators, freelancers, small shops, and beginners using window light, simple surfaces, steady framing, and consistent editing.
A practical workflow for sharing portfolio shoot proofs, collecting review feedback, and delivering final selected images without messy folders.
A repeatable process for draft review, client feedback, final gallery delivery, and downloadable handoff packages.