
Best Tips for Taking Photos at Events
A practical event photography guide for preparation, settings, candid moments, group photos, low light, and organized final selections.
Photography Tips
5 min read

Published June 18, 2026 | 7 min read
The best camera settings for indoor photography are flexible starting points: use aperture priority or manual mode, choose the widest useful aperture, keep shutter speed fast enough for your subject, raise ISO when the room is dim, and set white balance for the actual light in the room. For many indoor portraits, start around f/1.8 to f/4, 1/125 to 1/250 second, ISO 800 to 3200, and auto white balance or a custom Kelvin setting. Then adjust after checking sharpness, noise, skin tone, and highlights.
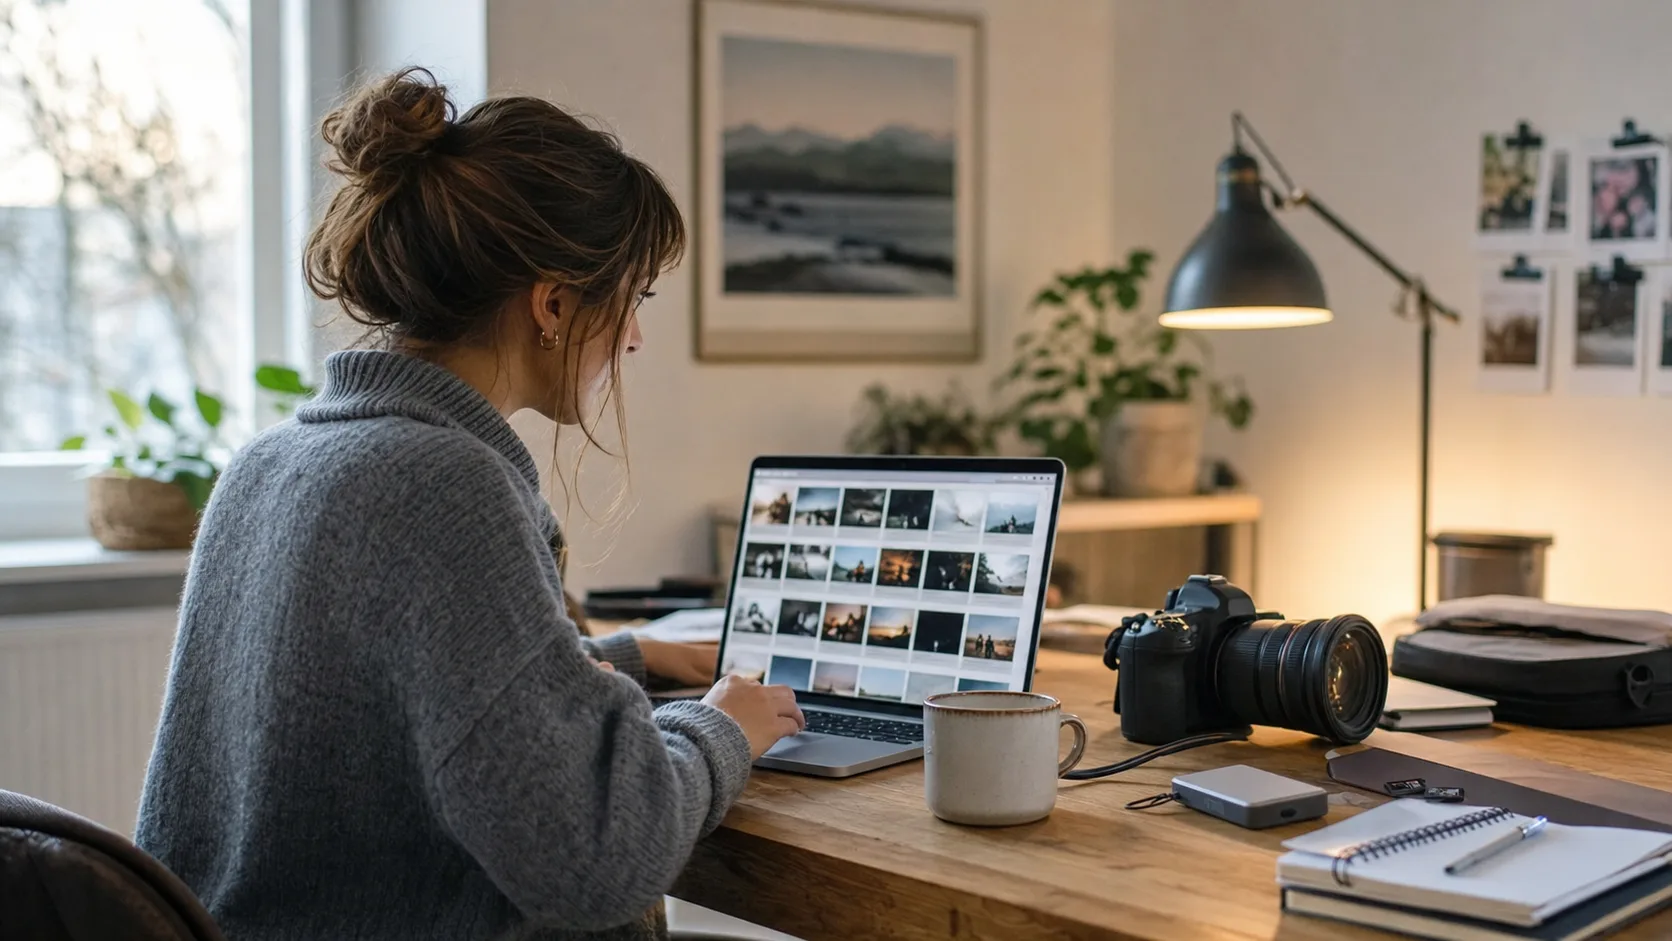 Indoor settings work best when you treat them as starting points and adjust for the room, the subject, and the available light.
Situation | Starting settings | Adjust when |
|---|---|---|
Window-light portrait | f/1.8 to f/4, 1/125 to 1/250, ISO 400 to 1600, daylight or auto white balance | Open the aperture for more blur, raise ISO if shutter speed drops, and watch bright windows behind the subject |
Indoor event or reception | f/2 to f/4, 1/160 to 1/250, ISO 1600 to 6400, auto or Kelvin white balance | Use faster shutter speeds for movement, and respect venue rules before using flash |
Home session with lamps | f/2 to f/5.6, 1/125 to 1/200, ISO 800 to 3200, warm Kelvin or custom white balance | Turn off conflicting lights when possible and check skin tone for orange or green casts |
Product or detail photo | f/5.6 to f/11, tripod if needed, ISO 100 to 800, custom white balance | Use a tripod for lower ISO, add bounce fill, and stop down when more of the object must be sharp |
Very low-light room | widest useful aperture, 1/60 to 1/160, ISO 3200 to 12800 if needed, raw capture recommended | Accept some grain before accepting blur, brace the camera, or add safe permitted light |
Shutter speed controls motion blur. Aperture controls how much light enters the lens and how much depth of field you get. ISO controls how strongly the camera brightens the image, which can add visible grain or noise at higher values. White balance controls whether indoor color looks neutral, too orange, too blue, too green, or too magenta.
 Exposure and white balance decisions continue during editing, but cleaner indoor files start with enough shutter speed and believable color.
For indoor portraits, start with a wide aperture and place the subject near the cleanest light source. For events, protect shutter speed first because people move. For products, use a tripod, lower ISO, and smaller apertures when detail matters. For very dark rooms, decide whether grain, motion blur, or added light is the least harmful compromise.
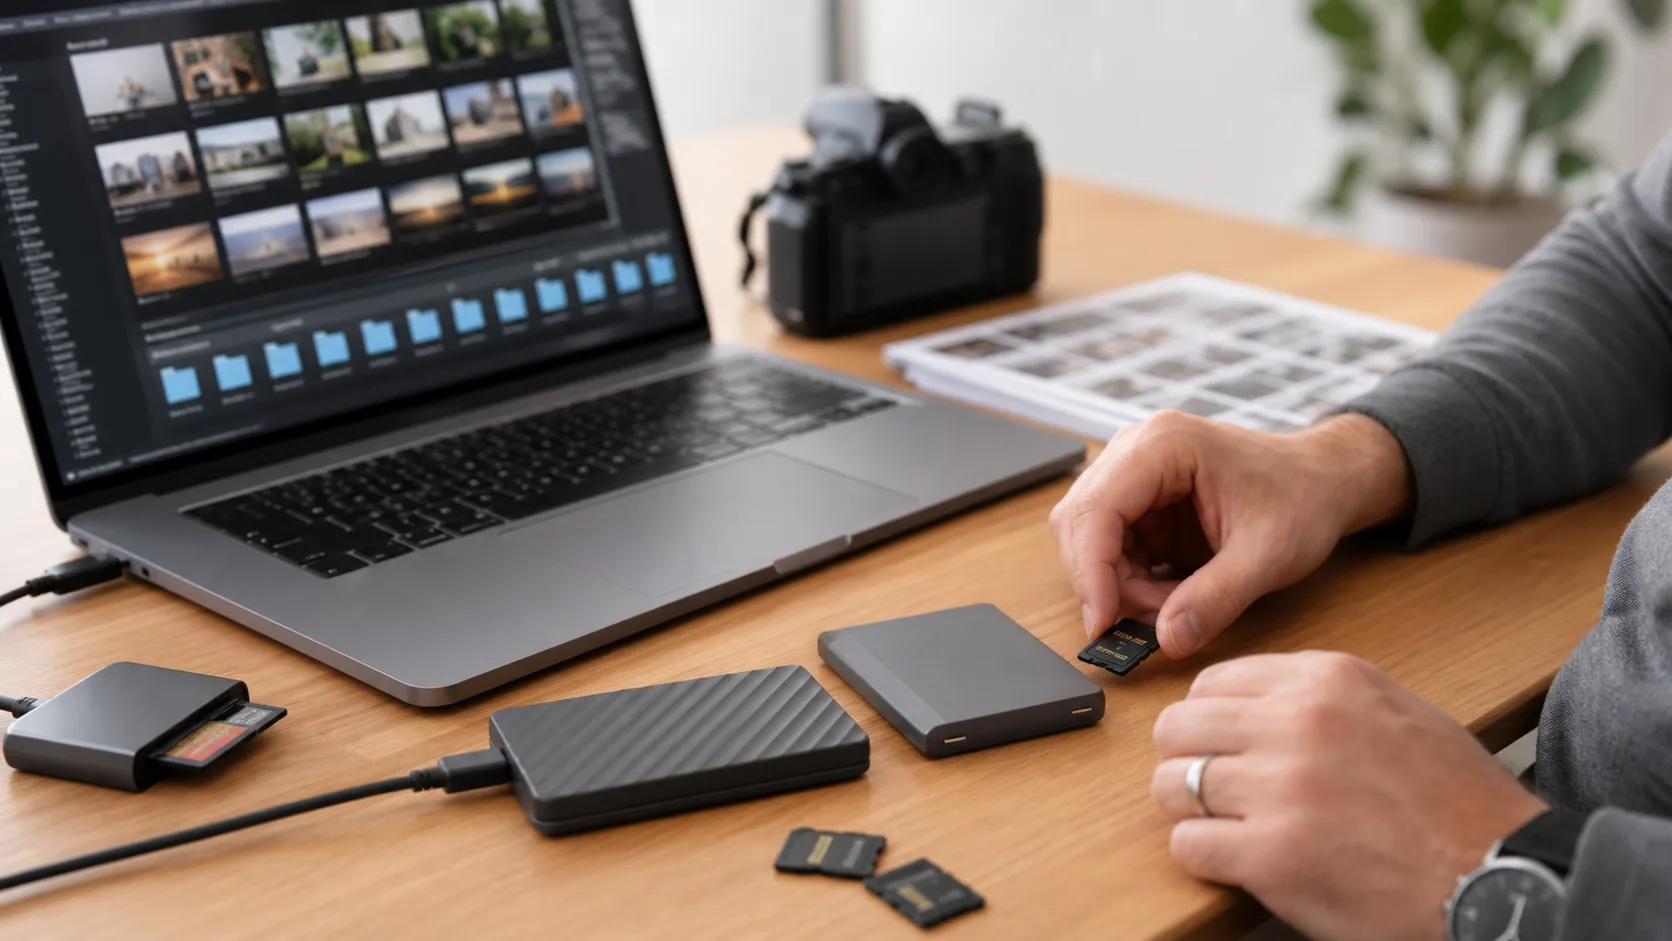 Review files at normal size after a session so you can spot blur, missed focus, and color problems before repeating the same setup.
Indoor problems usually come from too little light, mixed light, or a shutter speed that is too slow. Start by asking what matters most: freezing motion, keeping the background soft, preserving depth of field, or keeping ISO low. You usually cannot maximize all of them at once in a dim room.
Problem | Likely cause | Simple fix |
|---|---|---|
Blurry faces | Shutter speed is too slow or focus is missing | Use a faster shutter speed, stabilize your stance, and place focus on the eye or main subject |
Noisy shadows | Image is underexposed or ISO is very high | Expose enough for the subject, add light if allowed, and avoid lifting dark files too much later |
Orange skin | Warm lamps dominate the room | Set warmer white balance intentionally or turn off extra lamps that do not help |
Green or muddy color | Mixed bulbs, walls, or reflected color are affecting skin | Move the subject, change the light source, or use custom white balance |
Soft group photos | Aperture is too wide for multiple people | Stop down to f/4, f/5.6, or f/8 and add light or raise ISO to keep shutter speed usable |
Window light is often the easiest indoor light because it is large and soft. Lamps add atmosphere, but they can make skin too warm or create mixed color when daylight is also present. Flash can help in dark venues, but only when it is allowed, safe, and not disruptive. When in doubt, ask before using flash and avoid aiming bright light directly into someone's eyes at close range.
 Mixed indoor light can look natural, but it needs deliberate white balance and careful editing so skin does not shift from frame to frame.
After shooting, review the set for sharpness, color consistency, and usable variety before editing. For related technique and workflow help, read lighting tips for photographers, a beginner photo editing workflow, and portrait photography tips for better client photos. When the final edits are ready, Gampi fits as the presentation layer for polished galleries and final client files.
 A final review catches blur, color shifts, duplicates, and export problems before the finished photos are presented.
Use Gampi after editing to organize finished indoor galleries, share final files, and keep the client handoff simple.
Start with the widest useful aperture, a shutter speed fast enough for the subject, ISO high enough to avoid blur, and white balance matched to the room. For indoor portraits, f/1.8 to f/4, 1/125 to 1/250 second, and ISO 800 to 3200 are common starting points.
There is no single best ISO indoors. Use the lowest ISO that still lets you keep a safe shutter speed and the aperture you need. ISO 800 to 3200 is common in many rooms, and higher ISO can be better than a blurry photo.
Use a faster shutter speed, stabilize your stance, focus carefully, and raise ISO when the room is dim. For moving people indoors, 1/160 to 1/250 second is often safer than slower settings.
Flash can help when the room is too dark, but use it only when it is allowed, safe, and appropriate for the subject or venue. Bounce or soften flash when possible, and avoid disrupting events or shining bright light directly into someone's eyes at close range.
Auto white balance is a reasonable starting point, but indoor lamps and mixed light can fool it. Use custom white balance or Kelvin settings when color consistency matters, and check skin tones rather than relying only on the camera preview.
A practical event photography guide for preparation, settings, candid moments, group photos, low light, and organized final selections.
A practical beginner guide to sharper low-light photos: understand blur versus noise, choose settings, stabilize the camera, use available light, and edit dark files carefully.
A practical guide to creative motion blur: panning, slow shutter speeds, light trails, water, crowds, dance, portraits, timing, stabilization, and final image selection.